Case Management User Interface
The Case Management UI is divided into the following sections:
Case Management Workspace
The Case Management workspace provides the following options:
Table 11: Case Management Workspace Options
|
Options |
Description |
|
My Cases |
This link provides you the options to view a list of cases and create new cases. |
|
Case Research |
This link group consists of the following links, that allow you to perform various tasks that are required to create a case. |
|
Overview |
The Overview link displays the basic parameters of the case. |
|
Collect |
Collect allows you to search conversations and put them on hold. |
|
Review |
Review allows you to view the held conversations and helps in adding comments and tags to a conversation. |
|
Exports |
Exports allow you to export the held conversations or the reviewed conversations. |
|
Configure |
The link group consists of the Tag Groups and Options to configure in case Management workspace. |
|
Tag Groups |
The Tags link allows configuring of tag groups and tags. |
|
Options |
This link provides you the options to enable or disable auto save search and permission will control the case manager's ability to modify a case reviewer's role within a case. |
Case Management Panel
The Case Management panel is the first panel that appears in the Enterprise Archive UI, by default.
The Workspace Collapse button works like a toggle button. Click the Workspace Collapse button once to minimize the workspace area. This gives you more area on your screen to view your work panel. Click the Workspace Collapse button again to maximize the workspace area.
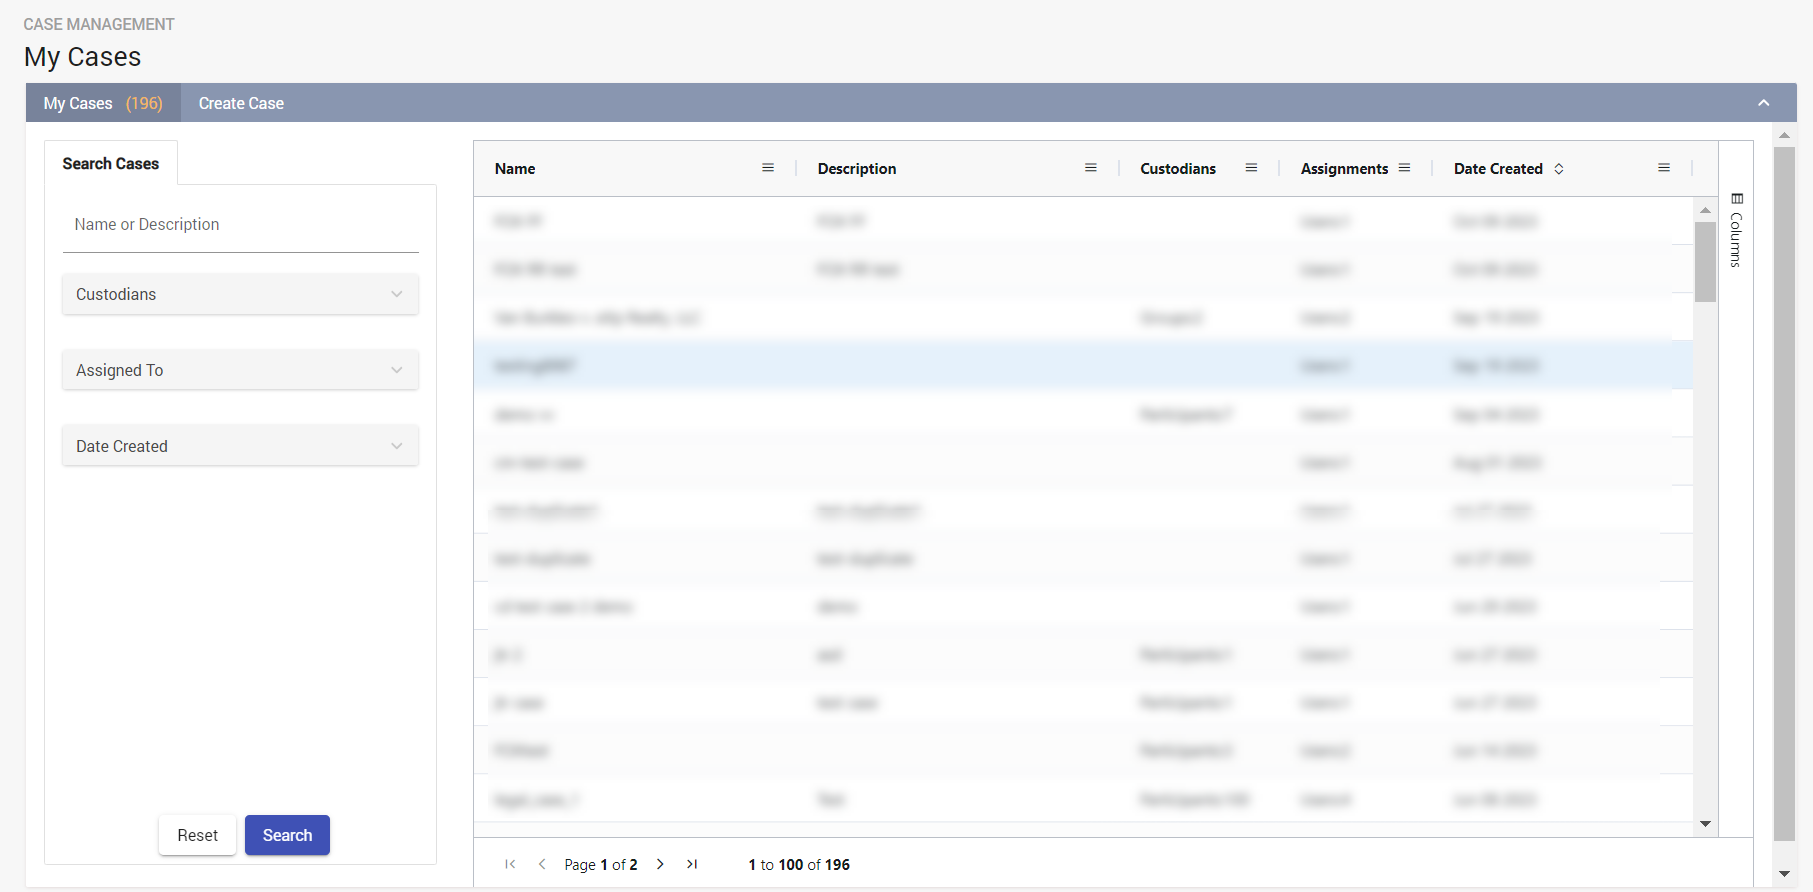
The  button at the bottom of the table enables you to add or hide the columns in the page.
The Case Management UI is divided into the following sections: