Configuring Tag Groups
Tags help in classifying of documents, reviewer's actions, and identification of documents. A Tag Group can contain multiple tags. You must assign meaningful tags to conversations.
Smarsh recommends you to assign logical names for tags, or tag groups to identify documents easily. For example, for a Close action you can have a "Closed" tag group and assign tags like "Not an issue" or "False Positive". Similarly, for the Escalate action you can have a "Escalate" tag group and assign tags like "Suspicious" or "Possible Violation", and so on.
To add or edit tag groups you must have the Access Tag Groups and Create and edit Tag Groups permissions enabled for your role.
You can use Conduct even without adding tag groups to a queue.
Actions Tags: This category of tags is associated with the Escalate and Close actions in the Conduct review pane.
Reviewer Tags: This category of tags are associated with the Update action in the Conduct review pane.
Important
Admin users will not be allowed to create Tag groups using the word 'System'. An error message will be displayed stating that 'System' has been reserved for application use. This is with regard to the Echo feature.
The following topics detail how to configure a Tag Group:
Adding a Tag Group
To add a tag group and add tags:
Click the Conduct tab in the Enterprise Archive UI.
Click Tag Groups under Configure from the Conduct workspace.
Click Create Tag Groups.
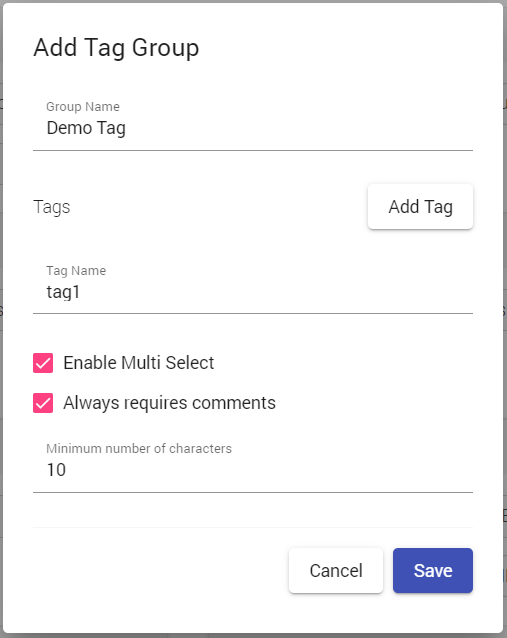
Type a name for the tag group in the Group Name box. It is mandatory to provide a Group Name.
Type the name of the tag in the Tag Name text box. Click Add Tag to add more tags.
(Optional) Enabling the Multi-Select check box to allow you to select multiple Tags while performing an Update, Escalate, or Close action on a conversation.
(Optional) Enabling the Always requires comments check box mandates adding a comment whenever tags under this tag group are applied to a conversation.
(Optional) In the Minimum number of characters box type a numeric value. This value is the minimum length of the comment that is entered when the tag is applied. By default, the minimum number of characters in a comment is ten.
Click Save. The new tag group is created and is listed in the Tag Groups page.
To enable one-click close for conversations, select the checkbox in the One Click column for the Close type tag in the Queues tab.
Editing Tag Group
To edit a tag group:
Click the Conduct tab in the Enterprise Archive UI.
Click Tag Groups under Configure from the Conduct workspace.
Click
 (edit tag group icon) beside the respective tag group. The Edit Tag Group dialog appears.
Perform the required edits and click Save.
Deleting Tags from a Tag Group
To delete a tag group:
Click the Conduct tab in the Enterprise Archive UI.
Click Tag Groups under Configure from the Conduct workspace.
Click
(edit tag group icon) beside the respective tag group. The Edit Tag Group dialog appears.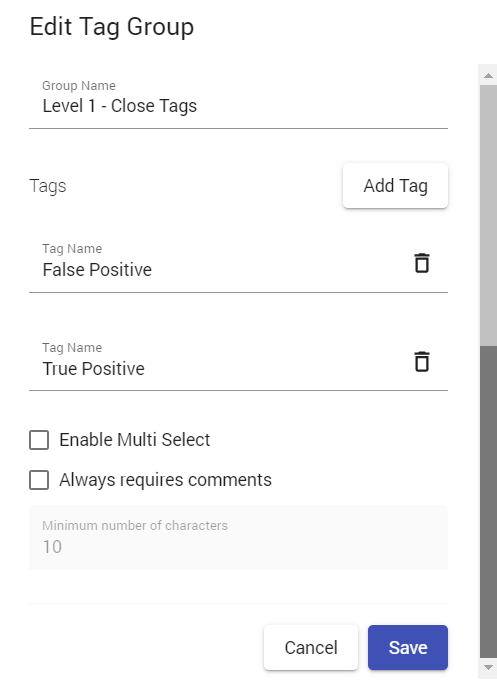
Click
 (delete tag) against the tag that you want to delete.
Click Save. The tag is deleted and the updated tag group is listed in the Tag Groups page.
After adding tag groups and tags, the next step in Conduct is Configuring Policies.