Configuring Export Locations
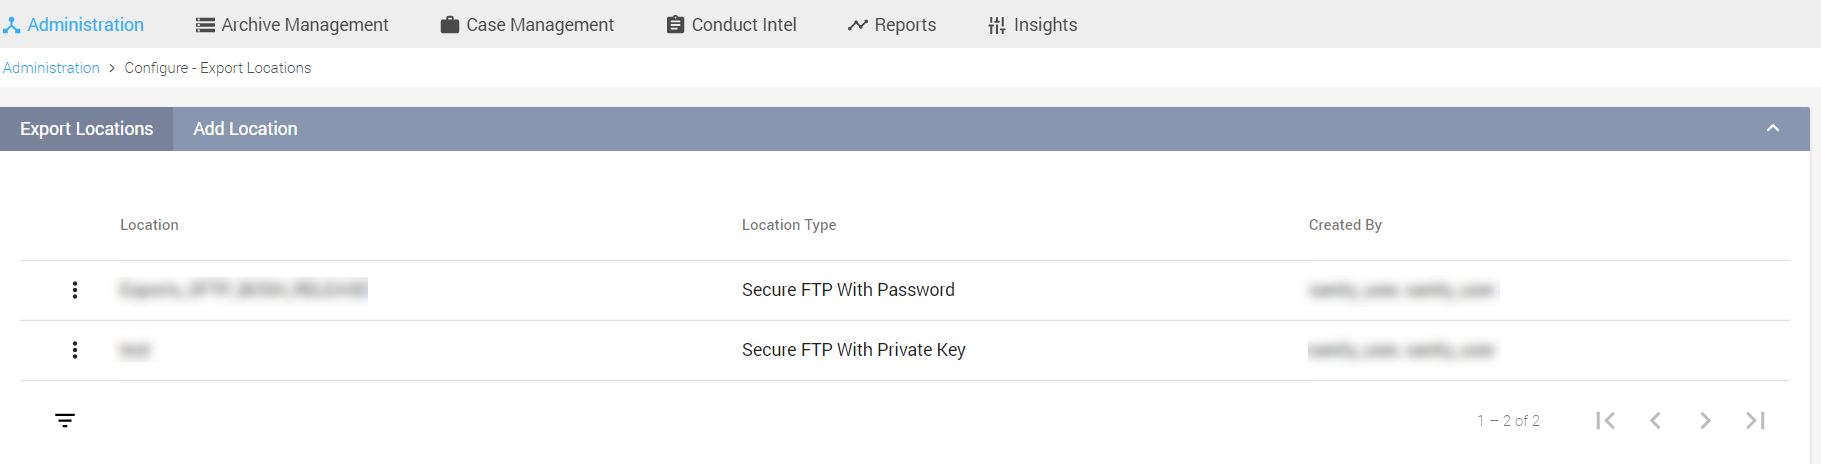
Export Locations enables you to configure SFTP locations that can be used while scheduling exports. You may choose an SFTP location with Password or with a Private key.
The following actions can be performed from the Export Locations page:
|
Fields |
Description |
|
|
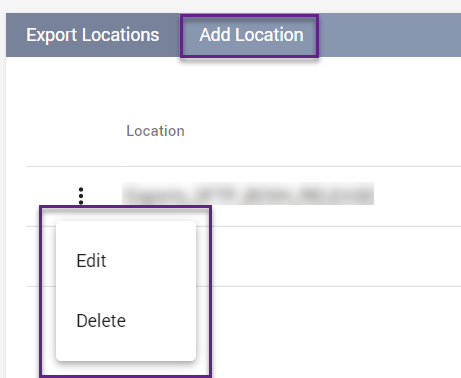
Select Add Location tab to add a new SFTP location. |
|
Click the vertical ellipse beside the configured export location and select Edit to edit an existing SFTP location. |
|
|
Click the vertical ellipse beside the configured export location and select Delete to delete an existing SFTP location. |
|
Adding a New Export Location
To add a new SFTP export location:
Click the Administration tab.
Click Export Locations under Configure, and click Add.
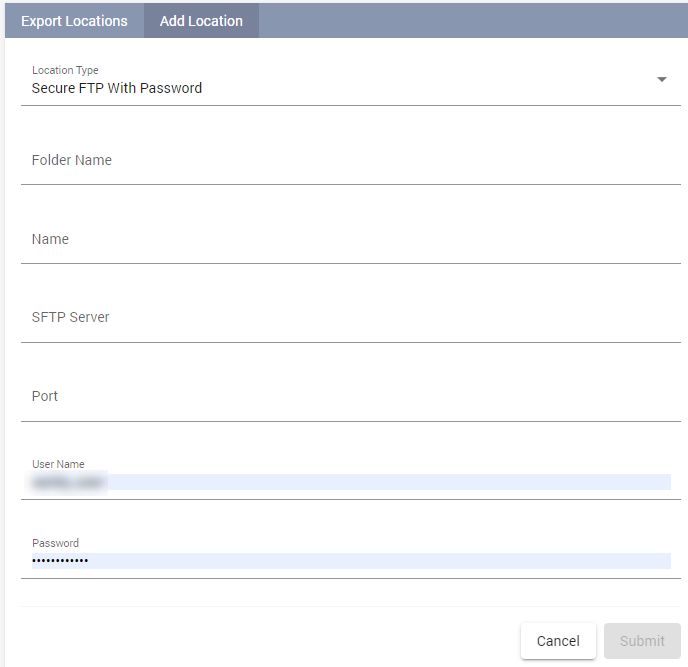
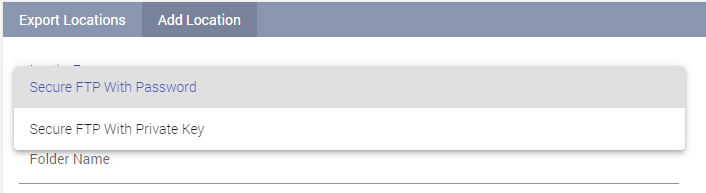
The Location Type is Secure FTP with Password by default. You may also choose Secure SFTP with Private Key.
Enter a folder name within the SFTP location in the Folder Name field. The data is exported into unique sub-folders within this folder.
For Enterprise Archive to automatically create sub-folders, write permissions must be granted to the account that is used to create the SFTP Export Location.
Creating sub-folders enables users to distinguish data for each export and also provides the capability to segregate exports for each line of business.
Enter a valid name to reference the Export Location in the Name field. See Permitted Characters while creating an export name.
Enter a valid SFTP server address in the SFTP Server field.
Enter the added SFTP server's port number in the Port field which will allow access to the scheduled exports from Enterprise Archive.
Enter a valid username in the User Name field.
Enter a valid password in the Password field, in case you have selected Secure SFTP with Password.
or
In case of Secure SFTP with Private Key, click the Upload Private Key button and select the private key file from your local directory. Our system supports both SSH and RSA type of private keys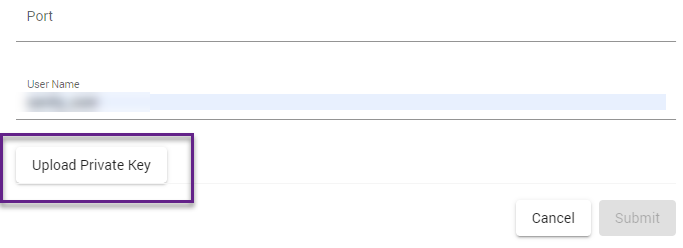
Click Submit. The Submit button is enabled only if all the mandatory fields are configured.
Enterprise Archive verifies the configuration before saving, that is, the changes are saved only if the configurations are valid. In case of any errors, a relevant message is displayed on the page.
The added SFTP location is listed in the Configure - Export Locations page.