Configuring API Clients
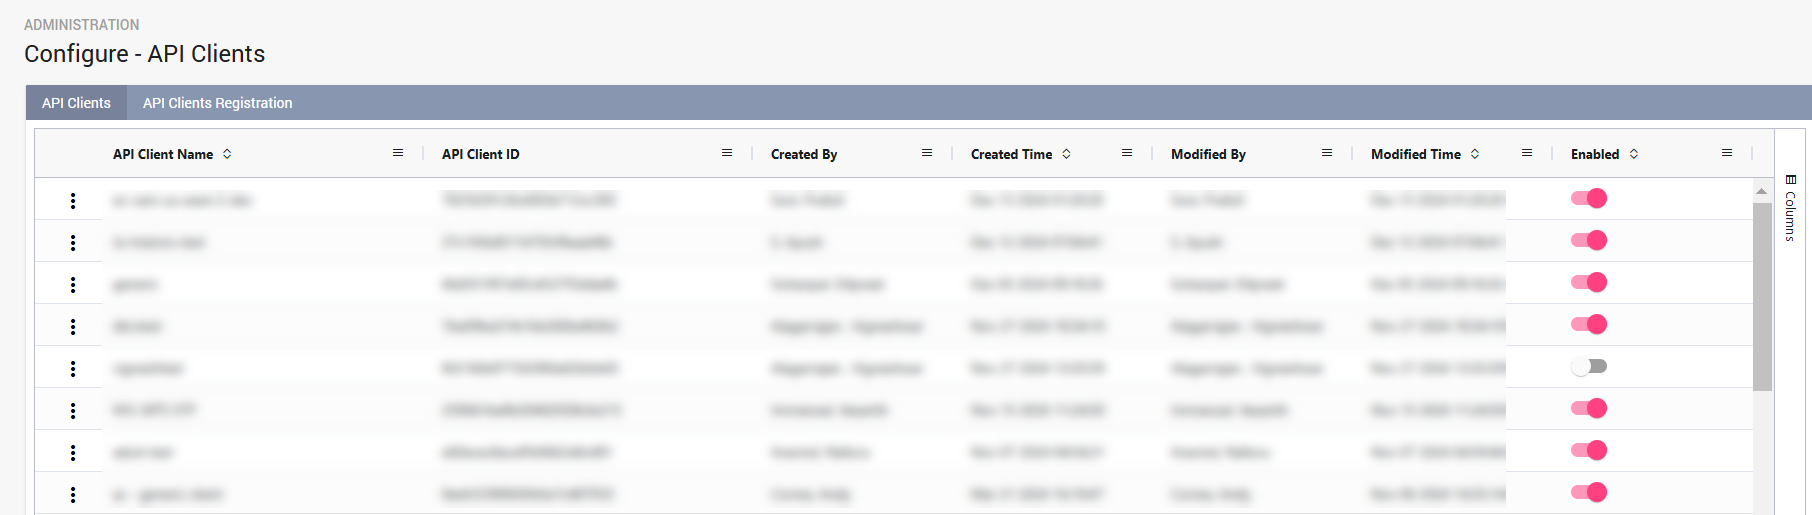
The API Clients page enables administrators to register API Clients who manage the REST Resources. Only the clients who are registered are permitted to use Enterprise Archive APIs. The user can also set up authorization for content based access for the API clients.
To add an API Client:
Click Administration > Configure > API Clients.
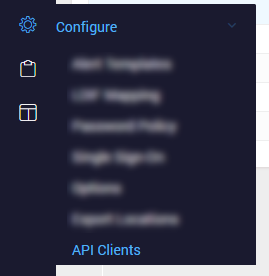
In the API Clients page, click API Clients Registration. The Authentication tab will be selected by default.
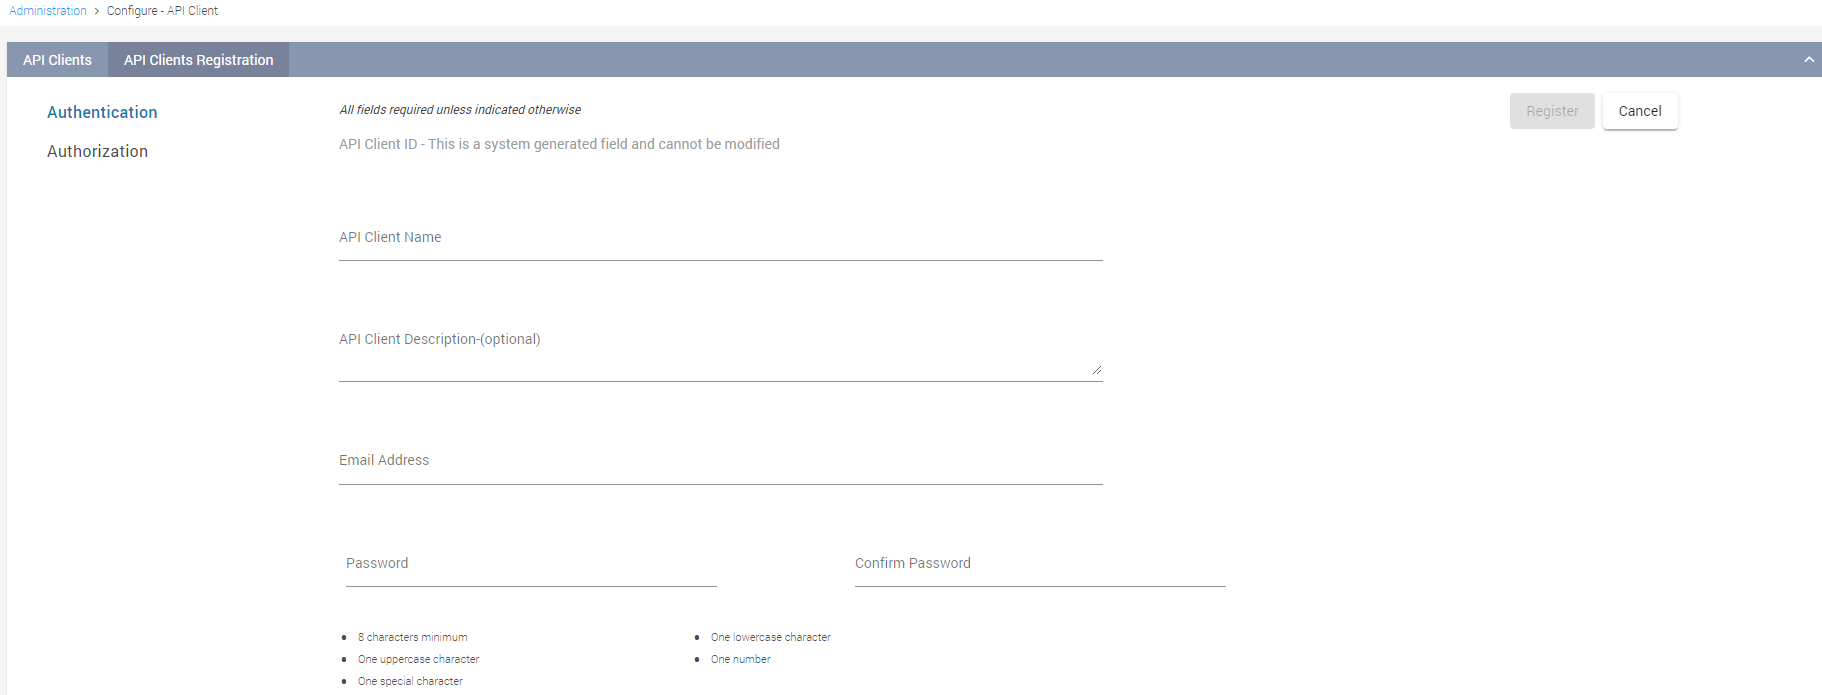
Enter the following details:
Fields
Description
API Client ID
An unique Client ID is auto generated once the following details entered are validated by Enterprise Archive.
API Client Name
Enter a name for the API Client. This is the username to be used in any third-party API applications. If the API Client name already exists, the following message is displayed: This Api Client Already Exists
API Client Description
This is an optional field. Enter an appropriate description.
Email
A valid email ID of the client.
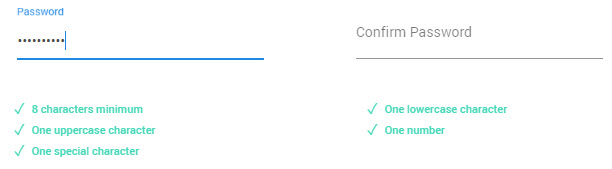
Password
Enter a password for the client. Ensure that all the password requirements are met. You must observe a tick mark against all the requirements.
Confirm Password
Re-enter the password for the client.
Click Register.
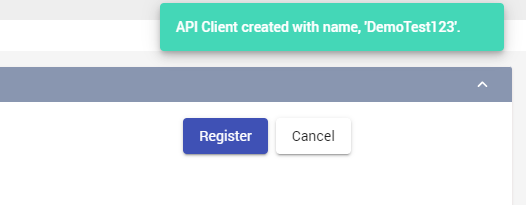
Once the API Client is created, API Client created with name <Client Name> message is displayed. If any failures are encountered, API Client creation failed. Please try again. message is displayed.
Once registered, the API Client name is listed under the API Clients page. By default, the registered API client is enabled to use APIs. To disable the API Client, uncheck the Enabled checkbox.
To further edit the registered API Client, click and then select Edit.
An audit trial of activities performed in API Clients page such as creation, update, or deletion of API clients can be viewed using the Viewing User Activity Logs page with time-stamp details.
Authorization
The user can also specify restriction policies based on participants, groups, divisions, departments, country (demographic properties) and custom attributes. To set up authorizations, from within the API Clients Registration tab:
Select the Authorization tab.
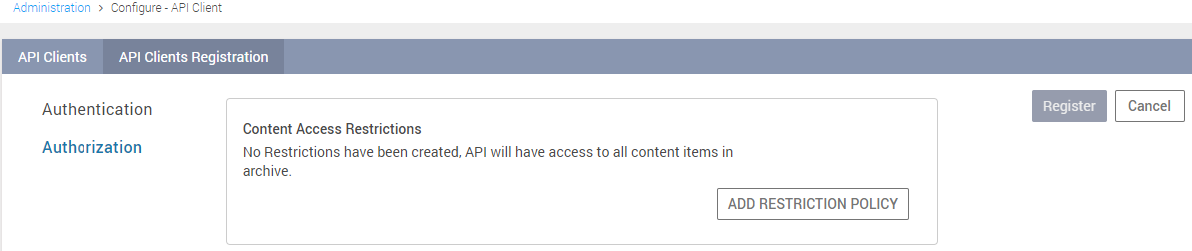
Click the ADD RESTRICTION POLICY button.
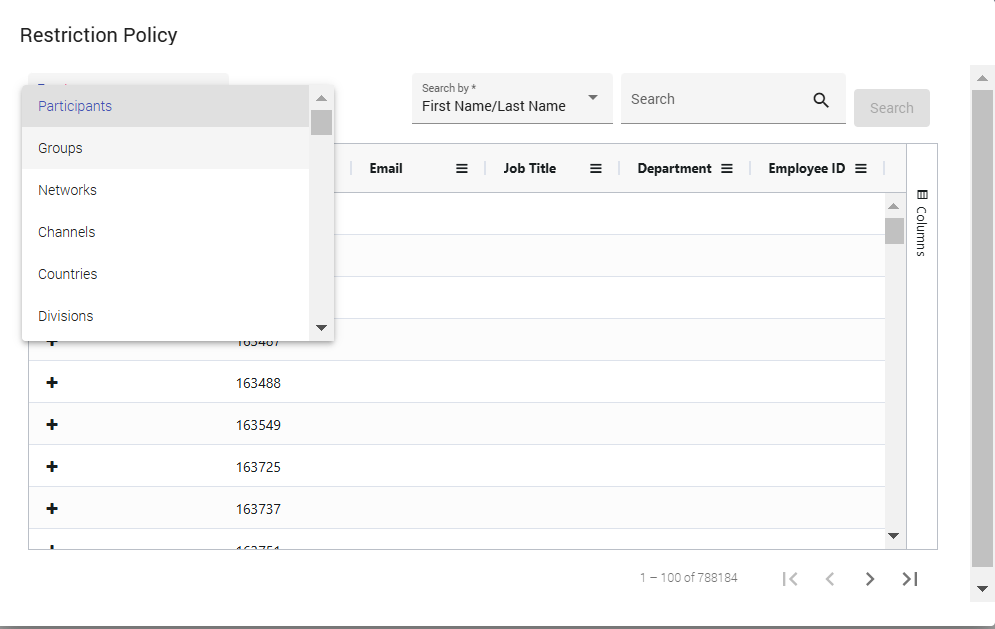
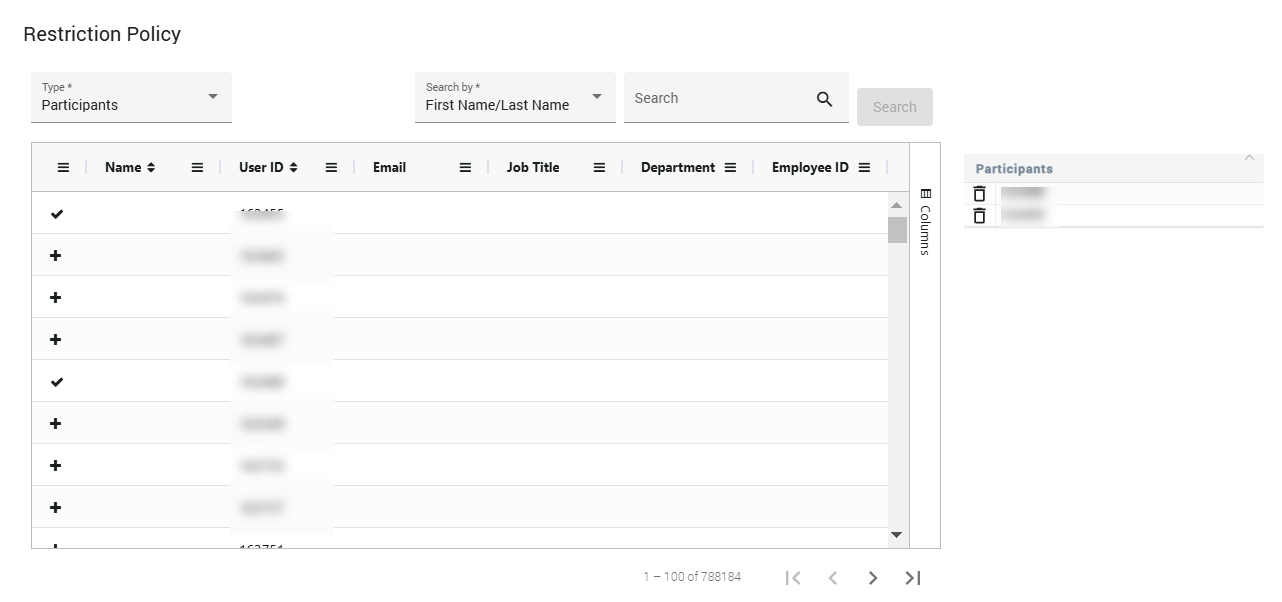
Select the desired participant, group, network, channel, country, division, department, and any other custom attributes listed in the Restriction Policy drop-down. Add the individual attributes by clicking the ( + ) icon. The selected categories are listed on the right. Click the close button once done.
To configure Content Access Restrictions, select Customer Attribute and input the appropriate customer attribute name. Add the attributes by clicking the (+) icon.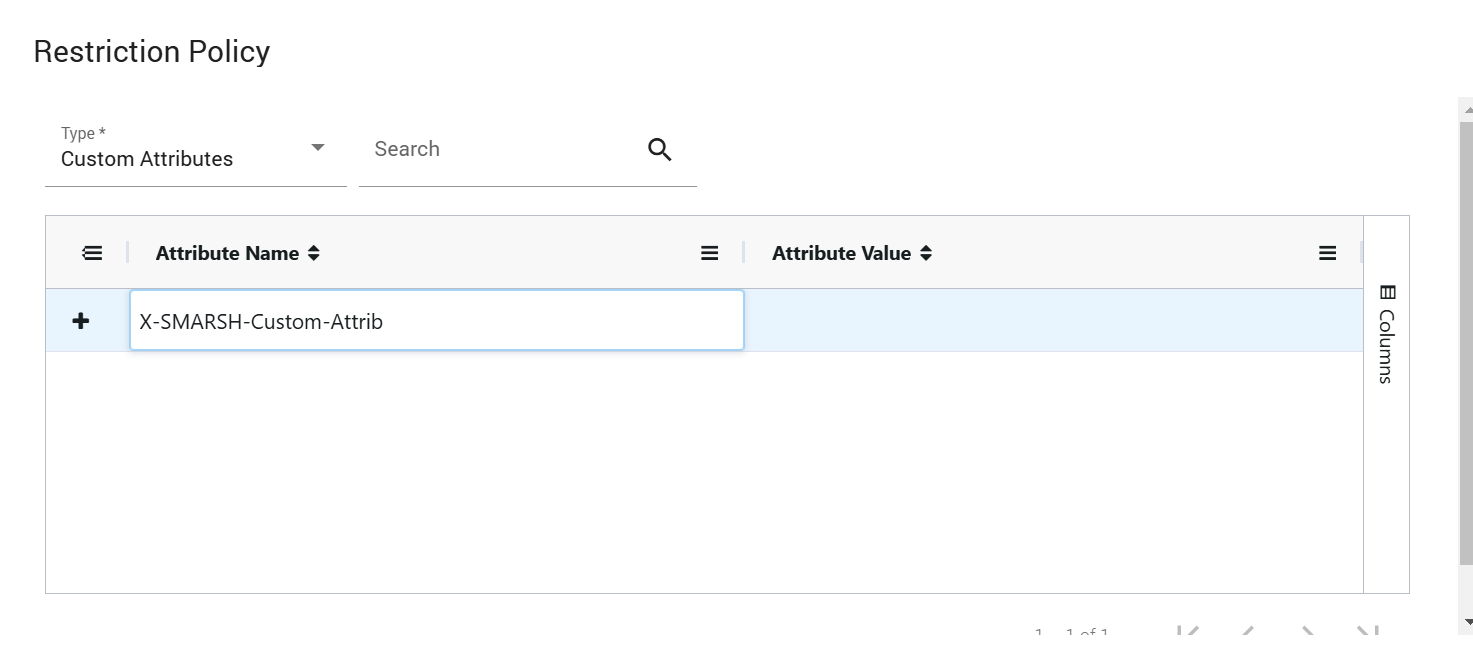
A confirmation message will be displayed on the Authorization tab.
