Setting Up the Journaling Process
To configure Journaling on your Exchange 2010 server, perform the following steps:
Creating a Journaling Contact
To create a Journaling contact:
Select Start > All Programs > Microsoft Exchange Server 2010 > Exchange Management Console.
Click the + symbol to expand your Exchange server.
Click the + symbol to expand the Recipient Configuration.
Click Mail Contact under Recipient Configuration.In the Mail Contact page, click New Mail Contact in the Actions pane.
Select the New Contact option and then click Next.
Figure 15: New Mail Contact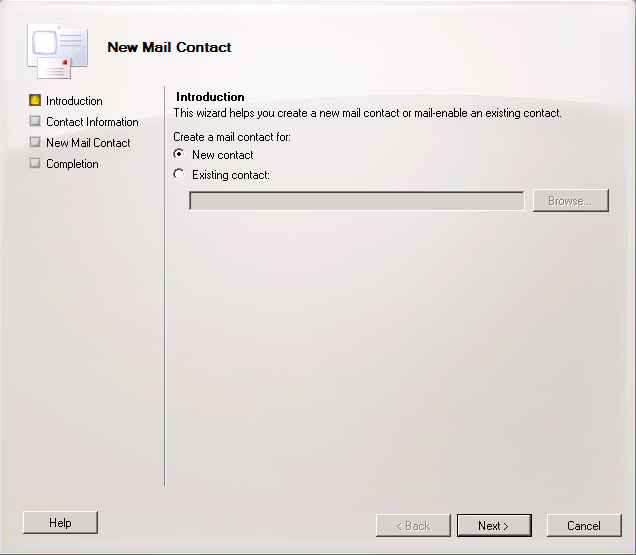
In the New Mail Contact window, enter the following:
Type Enterprise Archive Journaling Contact in the First Name field,
Enterprise Archive Journal in the Last Name field and
Journaling Contact in the Alias field
Click Edit .
Figure 16: New Mail Contact: Contact Information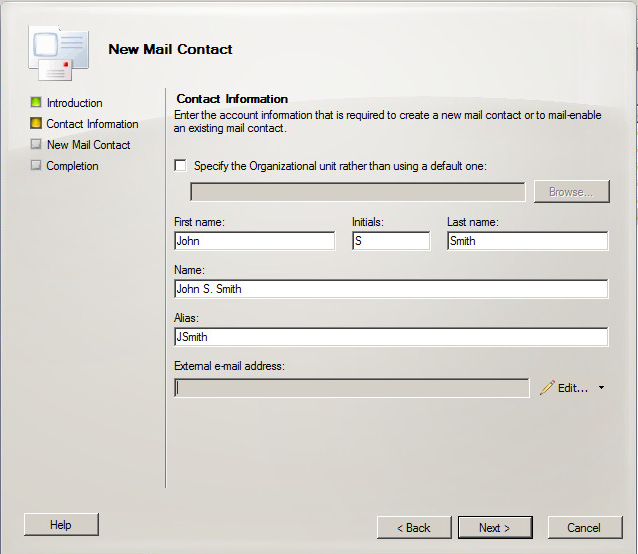
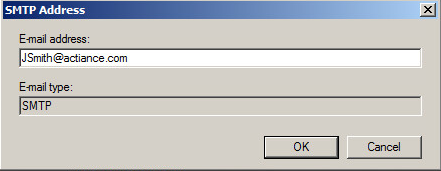
Type the Journaling address provided to you and then click OK. Figure 17: Entering the Journaling Address
Click Next.
Click New.
Click Finish. You have successfully created a Journaling contact.
Creating a SMTP Send Connector for the Enterprise Archive Journal System
To create an SMTP send connector:
Select Start > All Programs > Microsoft Exchange Server 2010 > Exchange Management Console.
Click the + sign to the left of your Exchange server.
Click the + sign to the left of Organization Configuration.
Click Hub Transport.
Click the Send Connectors tab.
In the Actions pane, click New Send Connector.
Type “Enterprise Archive Journaling Connector” for the Name field, for the Select the intended use for this Send connector drop-down list, select Custom. Click Next.
Click Add. The SMTP Address Space window opens.
In the Address field, type "journal.smarsh.net". Leave the cost at 1 and then click OK.
Click Next.
Select the Use Domain Name System (DNS) "MX" records to route mail automatically and click Next.
Select the Fully qualified domain name (FQDN) option, type “journal.smarsh.net” and then click OK.
Click Next.
Select None for the Configure smart host authentication settings and then click Next.
Click Next.
Click New.
Click Finish. You have successfully created a send connector as shown below.
Activating Database Journaling (Standard Journaling only)
To activate database Journaling:
Select Start > All Programs > Microsoft Exchange Server 2010 > Exchange Management Console.
Click the + sign to the left of your Exchange server.
Click the + sign to the left of Organization Configuration.
Click Mailbox.
In the Database Management tab, right click your mailbox database and select Properties.
Click the Maintenance tab.
Select the Journal Recipient check box, and then click Browse.
Select Journaling Contact and then click OK.
Click OK. You have successfully activated message Journaling. Repeat for each Exchange database on which Journaling must be enabled.
Implementing Database Journaling (Standard Journaling only)
To implement journal rules:
Select Start > All Programs > Microsoft Exchange Server 2010 > Exchange Management Console.
Click the + sign to the left of your Exchange server.
Click the + sign to the left of Organization Configuration.
Click Hub Transport.
Click the Journal Rules tab.
In the Actions pane, click New Journal Rule. The New Journal Rule window appears.
In the Rule Name field, type Journaling Rule and then click Browse.
Select Journaling Contact (This is the mail contact that is created in the process “Creating a Journaling Contact”) from the list and then click OK.
Select the Journal messages for recipient check box and then click Browse.
Select Journaling Distro from the list and click OK.
Click New.
Click Finish. You have successfully implemented journal rules for select users in your organization.
Create a Remote Domain for the Enterprise Archive Journal System
To disable non-delivery reports:
Select Start > All Programs > Microsoft Exchange Server 2010 > Exchange Management Console.
Click the + sign to the left of your Exchange server.
Click the + sign to the left of Organization Configuration.
Click Hub Transport.
Click the Remote Domains tab.
In the Actions pane, click New Remote Domain. The New Remote Domain window opens.
In the Name field, type “Enterprise Archive Journal”, and in the Domain name field, type “journal.smarsh.net” . Click New.
Click Finish.
Right click Address Space Domain and then select Properties.
Click the Message Format tab.
Ensure that the Allow non-delivery reports check box is not selected.
Under Exchange rich-text format, select the Never Use option, and then click OK.
You have successfully disabled Non-Delivery Reports.